Saturday, June 30, 2012

Mimicking Mary

Gypsy Kisses

Have you ever fell in love with someone's style?  It was love at first sight when I saw Mary's quilt Gypsy Kisses.  I started following her blog, Molly Flanders, and have seriously loved everything I have seen.  I totally want to be more like Mary.  :)  I even tried out chunky quilting with perle cotton on a pillow recently - chunky/primitive quilting with various bright colors of perle cotton is Mary's signature quilting style.  Love it!

I wanted to start another English paper piecing project this summer that I could bring with me to the park and pool and decided that I wanted to recreate the look and feel of Gypsy Kisses.  Ironically, I have not been able to work on the project at the pool or the park - those crazy kids want me to play with them, not sit and stitch - who would have thought?  ;)  But I have been working on it every evening after the kids go to bed.  I love to put my swollen feet up and stitch while watching a show.

Anyway....This was my first block - a star in a hexagon.  Nice, but lacking.  Would Mary just use one color of gray for the star?  No way!

So I gave it another try.  Stars with two black/white/gray fabrics.  Perfect!


They look pretty good all together, but...

...I think I am going to spread them out and put some turquoise floral fabric in between the star hexagons.

I am planning on using Turquoise Bouquet from Flea Market Fancy.  It mimics the fabric in Gypsy Kisses and I love it as fabric, but I must admit that I am going out of my comfort zone here.  I tend to use smaller prints and don't usually do bright and scrappy.  What do you think?  Will it work?  Am I crazy?
  
I have made 14 star hexies in the last three weeks and have enjoyed every moment.  Only 30 or 40 to go!  :)

Friday, June 29, 2012

There's No Way I Can Make Those Blocks! Giveaway

Giveaway Closed:
The winner is #3, Julie!  
(who must have stock in Random.org and has rigged the system somehow!)

Thanks to you all for participating!  You Rock!


Here are the last three blocks in the Skill Builder Sampler!  The Compass Block was do-able, the Feathered Star was frustrating and the Butterfly was challenging to say the least, but I Did It!  And I am so proud of all the people who completed the whole sampler with me!  Believe me, I know it wasn't easy - either to make all of the blocks or to have a weekly quilt block commitment.  Thanks for sticking with it.  :)


For this weeks giveaway there are 5 fat quarters up for grabs.  There is some Ruby, Walk in the Woods and an unidentified but fun dot.  You may be enter up to three times in the giveaway.  Leave a comment if:
  1. You completed Blocks 34-36 of the Skill Builder Sampler
  2. You completed Blocks 31-33 of the Skill Builder Sampler (Since I didn't do a giveaway last time)
  3. You have completed all of the Blocks in the Skill Builder Sampler
Giveaway closes July 6th in the AM.


Starting next Friday we will start working on different ways to put the blocks together.  Feel free to just plow on ahead and finish your quilt, but I am going to be working at a more leisurely pace.  This summer has been busy!  

Did you see that Vanessa has already finished her quilt top and is starting to hand quilt it?!?  So beautiful and the sashing is perfect for all of those not-quite-to-size blocks.  Beautiful!  I was planning on putting mine together differently, but I just might have to copy her.  :)

Friday, June 22, 2012

36 - Alice Brooks Butterfly


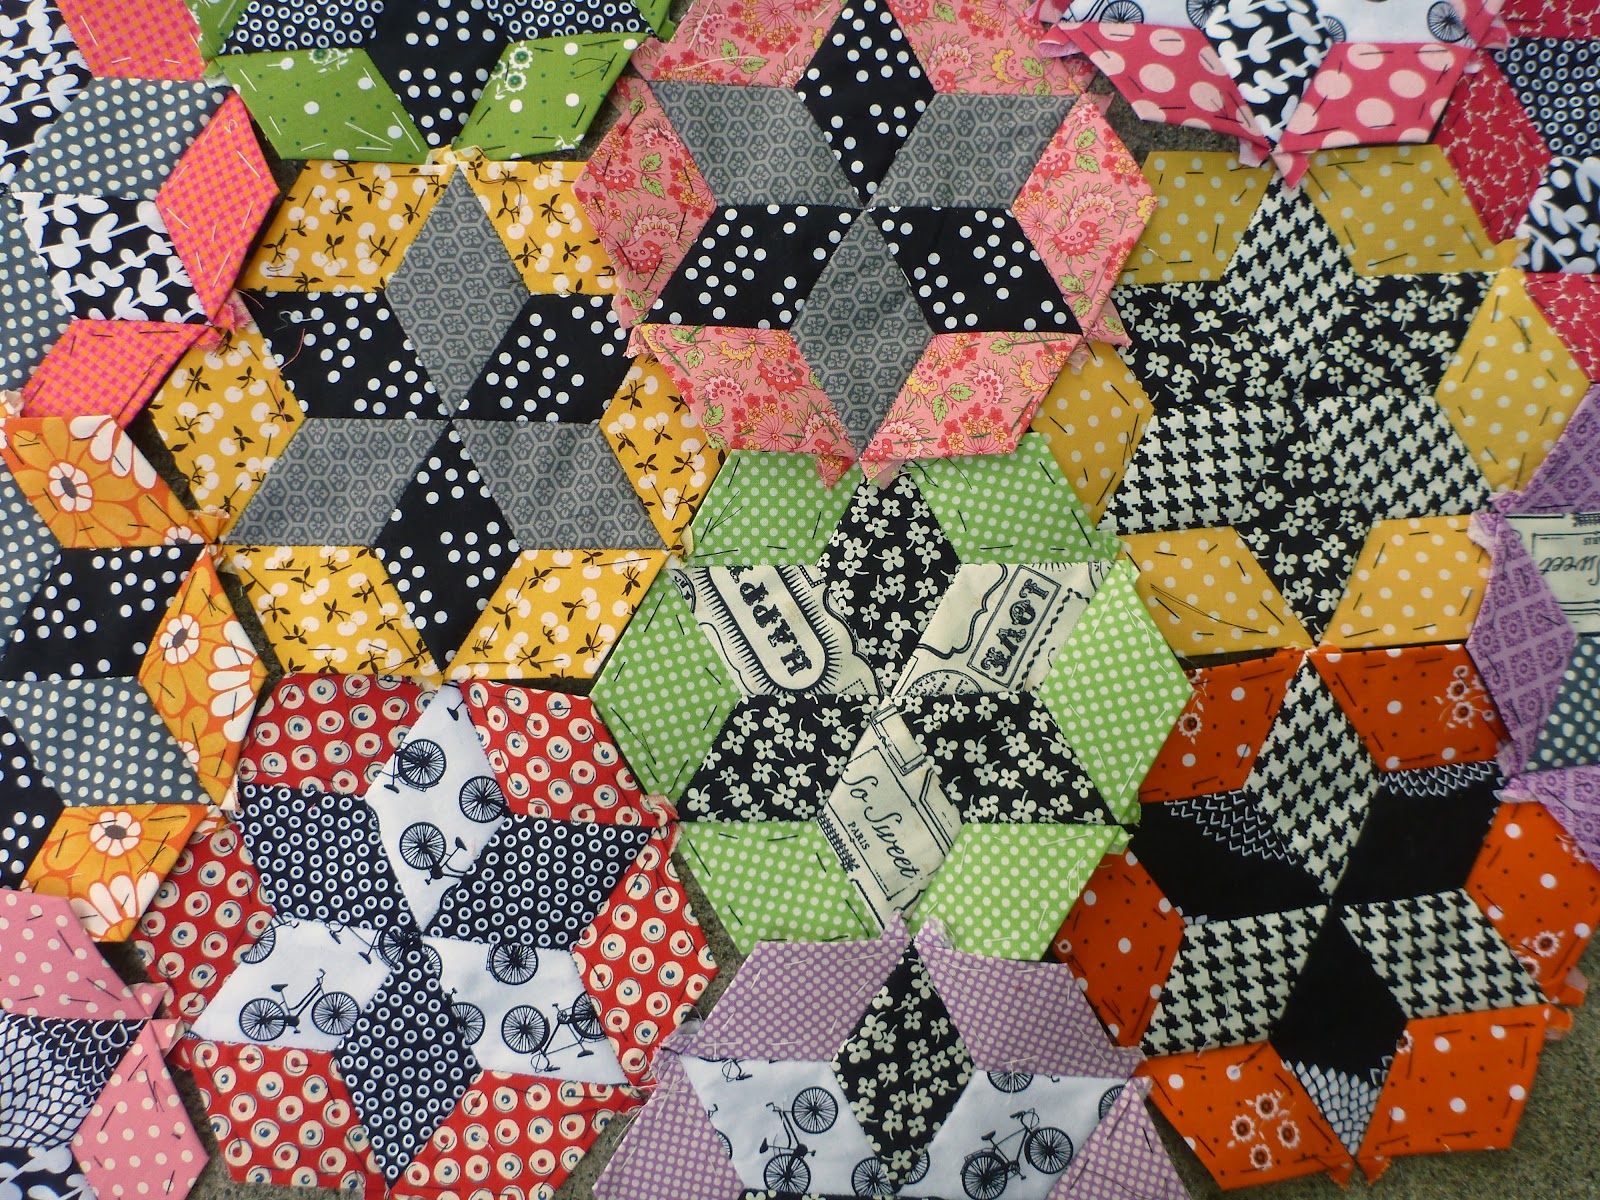
 Months ago when we were paper piecing, someone sent me a link to this block and asked if it was possible to paper piece it.  No such luck.  In fact when I saw it I thought "there is no way I would EVER make that block" so of course I had to make it as one of the challenge blocks in the sampler.  :)

I had started to hand draft the block, but Marlene was a total hero and drafted it up for us in EQ7.  Thank you!!!

The Alice Brooks Butterfly Block incorporates the skills of using templates and sewing curves and inset seams.  It will certainly put all of the skills we have learned to the test.


Do you have what it takes to make this last block in the 
We Can Do It! Skill Builder Sampler?  :)
 (scroll down for instructions)
............


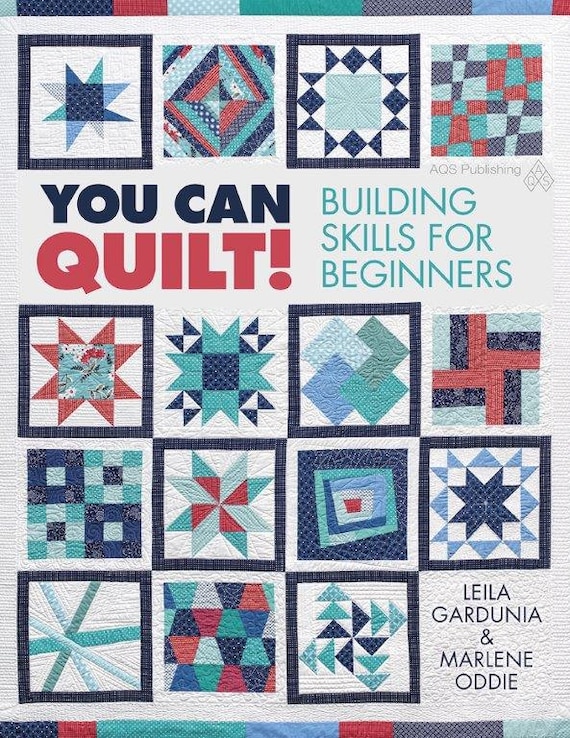
Edited (4/15):  The Skill Builder Sampler will soon be available for purchase in book form!  It has been renamed "You Can Quilt!  Building Skills for Beginners" but covers the same skills with the easy, medium and challenging blocks and is a million times better than the original quilt along.  It is perfect for the beginning quilter or the experienced quilter who wants to branch out and learn new skills.  Find more information and pre-order a signed copy in my Etsy shop or pre-order on Amazon.  The Skill Builder Sampler tutorials will remain up until the book is released.  After release, some will be removed.
............


 Step One:  Download the templates.  Save to your computer and print from the saved file.  Make sure the 1 inch line is really one inch.  Cut out the templates and gather your fabric.

 Step Two:  Cut out the templates.  Cut two of each template except for the wing wedges (template V) - cut six of them.
The two pieces of fabric need to be mirror images of each other (one for each side of the butterfly).  The easiest way to do this is to simply fold the fabric in half (right or wrong sides together), pin and cut out the piece.

 When you take them apart there will be two pieces that are mirror images of each other.  Sweet!

 If your scraps aren't big enough to fold, simply cut out one piece with the front of the template up...

Then flip the template over onto the backside and cut out the second piece.


Either method works equally well.

 Of course, you can always trace the template and cut around the line.  I like to pin my folded piece of fabric together before cutting to be sure that the fabric doesn't shift.
  
 Lay out all of the pieces.  Pay special attention to the background piece in the upper right and bottom left corner (template H).  It is almost, but not quite symmetrical and you don't want to get them mixed up.

 Step 3: Sewing
Sew together the three wing wedges (template V).

 Mark the middle of the quarter circle (template U) and wedges by ironing or marking with a pen.

 Pin the middle mark together.  Pin the ends together.  Ease the fabric in between the pins and pin again.  Carefully sew along the curve making sure to avoid puckers.  Slow and steady wins the race.

 Press.

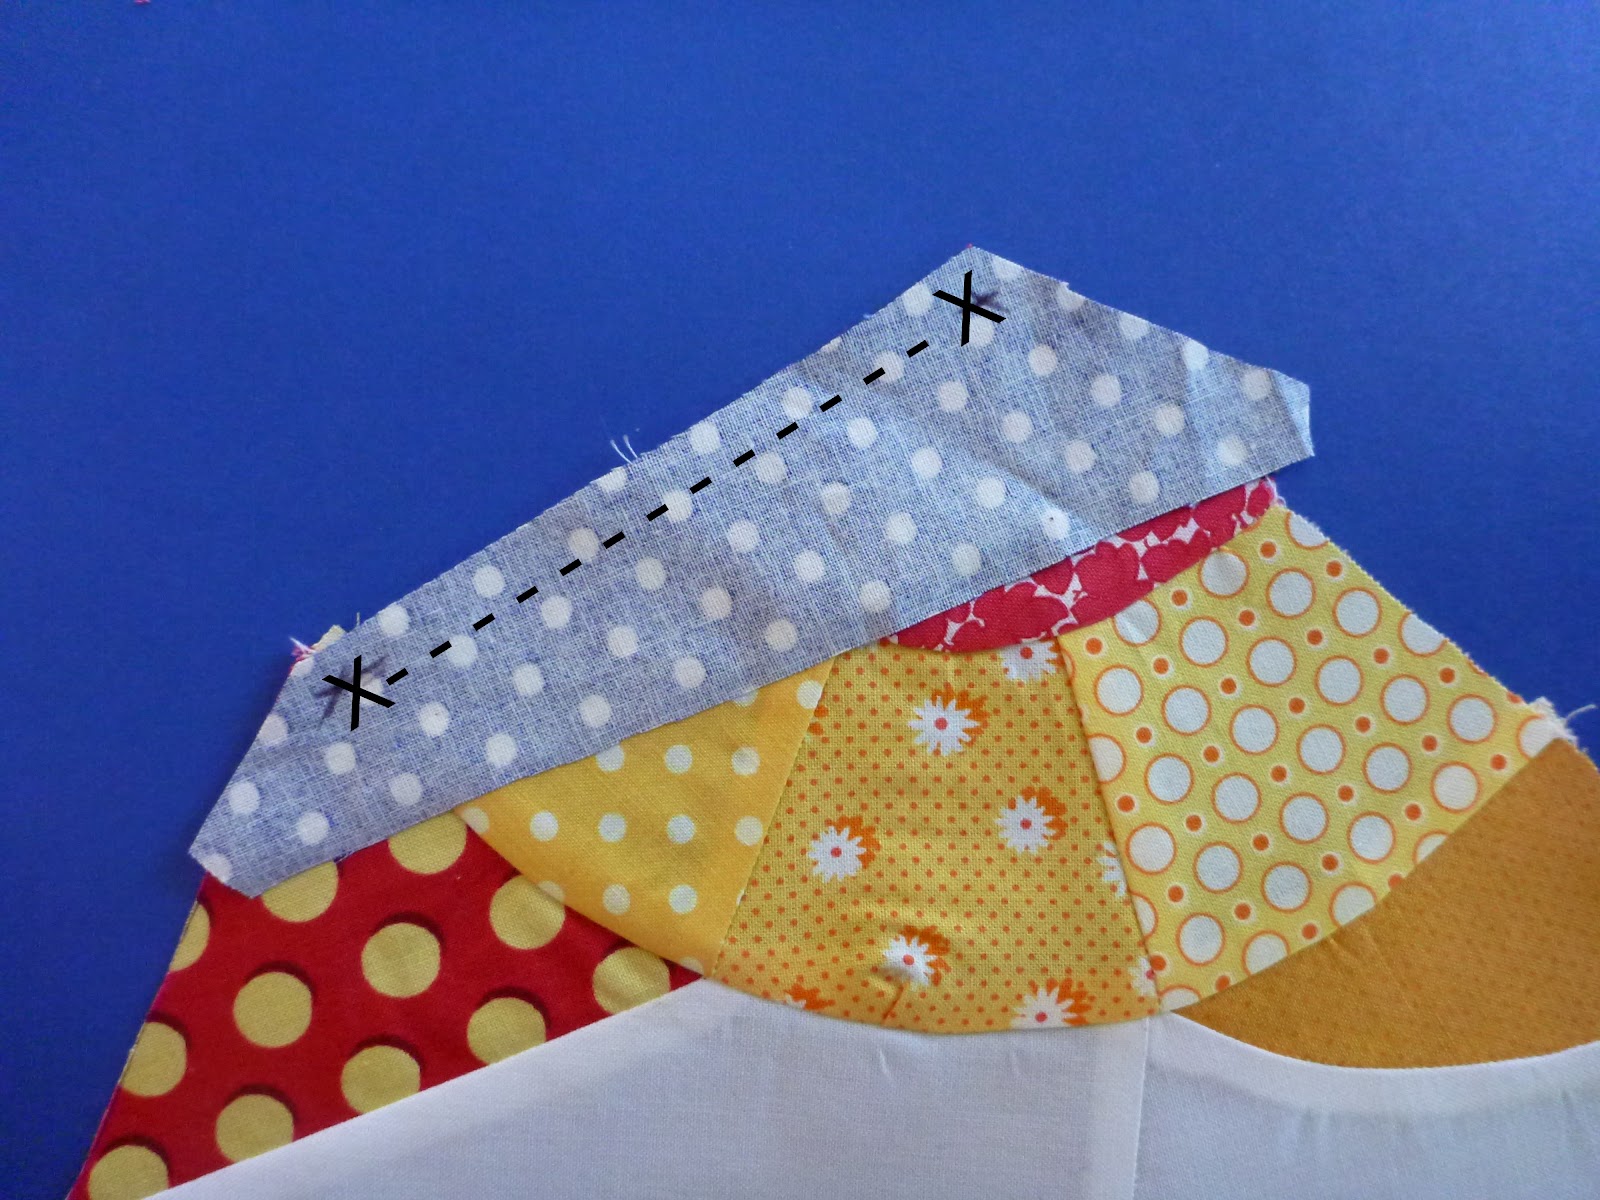
 Sew the wing tip (template P) to the background piece (template H).


 Pin as shown.


 Sew on template D.

 Then add on template Q, the lower wing point.

 Join the two pieces together.  Line up the wedge seams with the seams between the wing points and background piece.  Pin at the seams.  Ease in the fabric and pin between the seams.  Sew.
  
 Press and give yourself a pat on the back!

 Make a mark a quarter inch from both ends of template N, the butterfly torso.  Sew from mark to mark.

 Sew template E between the torso and bottom wing with inset seams.  Check out this post for a refresher on inset or y-seams.

 Press.

 Next, attach template I to the top of the butterfly.  Again make a mark a quarter inch in from the corner and use inset seams.

 Press.  Beautiful!

 The hard part is over!  Simply sew template J to the top of the butterfly unit.

 Repeat the process for the other half of the block.  Can you tell which half I made first? Eek!!  :)
Sew the halves together and trim to 12.5 inches square if necessary. 

Using a washable fabric marking pen draw on the butterfly antennae.  I followed the seam line for awhile and then curved down.  Use an embroidery or machine stitch to outline the antennae.

I machine stitched mine with the zigzag width at 2 and stitch length at .5.  I back stitched at the beginning and end of the antennae.


And that is it!  The last block in the We Can Do It! Skill Builder Sampler.  I can't believe it!  Not that it is over - we still have to get these blocks turned into a quilt.  We will work at a reasonable pace at that over the next few weeks to put the top put together.  Tune in next Friday for a giveaway and the first step for getting your blocks turned into a quilt.


Follow on Bloglovin

Wednesday, June 20, 2012

Paper Piecing the Feathered Star by Marlene


Marlene has been drafting her Skill Builder Blocks in EQ7.  She just wrote up a great post on how she used EQ7 to draft the Feathered Star block, but most impressively, she drafted paper piecing templates and figured out how to piece the block with no inset seams!   I seriously looked and looked for a way to piece this block with no inset seams, but just couldn't visualize it.   Sorry if you have already made the block the hard way like me.  If not, check out Marlene's post and templates for a much easier block experience.
Thanks for sharing Marlene!

Tuesday, June 12, 2012

Long Arm Quilting

 
My friend Julie made this beautiful quilt (Hexagon Park) and trusted me enough to quilt it for her.  This time the long arm quilting on the rented machine went much smoother than before - thanks for all of your tips!

 I made big mums in the center of all the large hexagons...

...and little mums in the border blocks.  I made little loopy things along the border.  The loopies were the hardest part, I kept getting mixed up about which way they were suppose to go.  

And the best part?  Julie watched my kids while I quilted.  When I went to pick them up they all showed me how they had climbed the tree while I was gone.  I have heard numerous complaints since about how we don't have a climbing tree in our yard -- yeah, it's a tough life.  :)